Shadowfetch Linux
Installing Shadowfetch Linux
It’s the standard Debian live-install experience — boot the ISO, click through Calamares, reboot. Installation time depends on the computer, storage and USB media.
- Time
- Varies by hardware
- Installer
- Calamares
- Filesystem
- Btrfs by default
- Encryption
- LUKS, optional
Install steps
Step 1: Boot from the USB stick
Plug in the USB, power on, hit your system’s boot-menu key (usually F12, F11, F2, or Del), select the USB device. You’ll land in a live session — you can try Shadowfetch before installing.
Secure Boot: the Shadowfetch ISO isn’t Secure-Boot-signed yet. If the USB doesn’t appear in the boot menu or refuses to boot, enter your firmware (UEFI) setup and disable Secure Boot first.
Step 2: Launch the installer
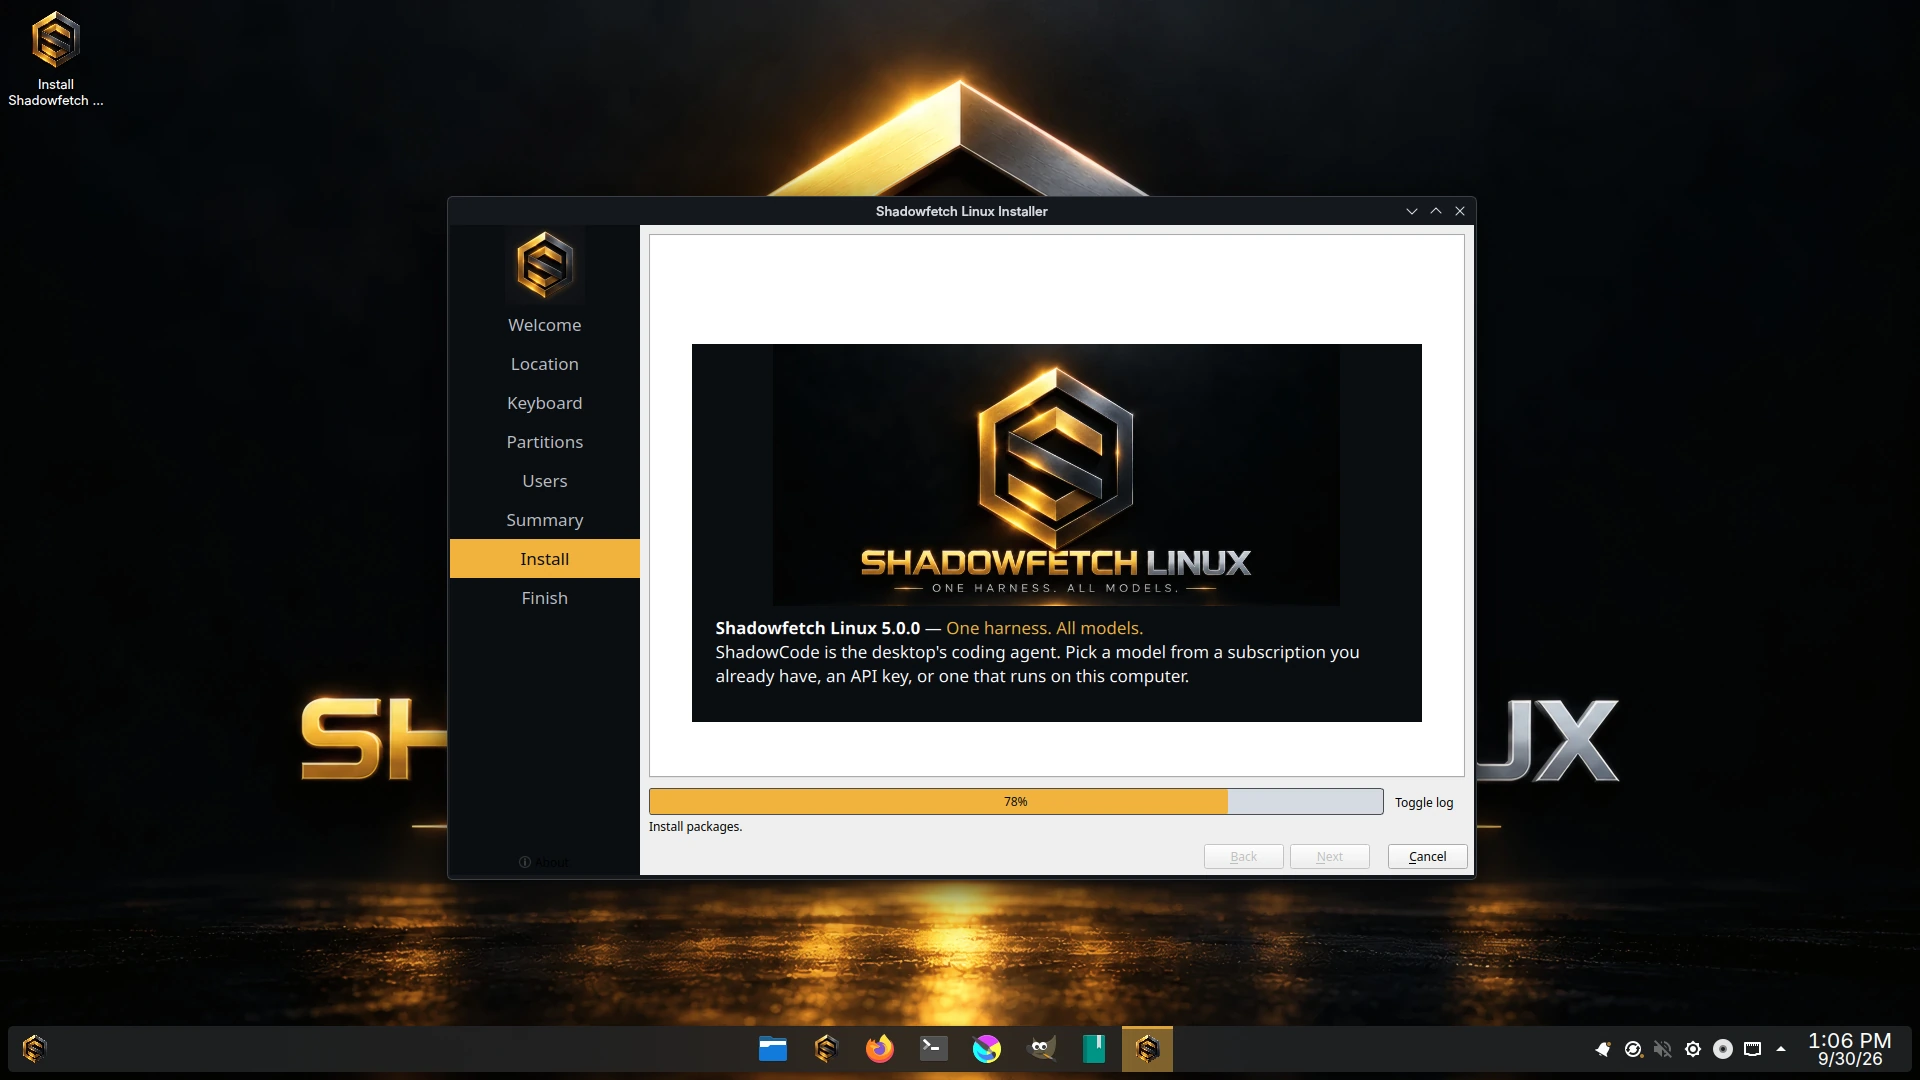
From the desktop, double-click “Install Shadowfetch Linux” (or run calamares from a terminal). Calamares walks you through region, keyboard, partitioning, user account, and a final summary.
Step 3: Partition
For most users, pick “Erase disk” with default options. If you’re dual-booting, use “Manual partitioning” and shrink an existing partition. Shadowfetch defaults to Btrfs with a separate home subvolume for Phoenix recovery. To encrypt the system and personal files, tick “Encrypt system” and set a strong passphrase. The /boot partition and the UEFI system partition remain unencrypted. You’ll enter the passphrase at every boot (it’s LUKS; the keyboard at the unlock prompt uses your installer keyboard layout).
Step 4: Let the installation finish
The installer copies the live system to disk, installs the bootloader (GRUB), and configures your user. Make a coffee.
Step 5: Reboot into your installed system
Remove the USB when prompted, boot back up. On first login the Shadowfetch Welcome opens: review Workbench profiles and apps, choose the agent network (online or offline), optionally install Grok Bot, Hermes Agent or OpenClaw, then connect your subscriptions, API keys or a local model in ShadowCode. Every software plan is shown before it runs; no model, cloud account, or credential is bundled. (This is the 5.0 Welcome; the 4.1 image's first-boot steps are in its release notes.)
First-boot notes
- ShadowCode
- Preinstalled from 5.0. Open it from the application menu or Welcome's last page, then connect a subscription, an OpenRouter key or a free local model under Settings › Accounts. You approve its actions and review each task's diff.
- Mission Control
- Create a project in Workbench, then queue a code, source-report or media mission. Review its connection, tests and output before acceptance.
- Optional agents
- Welcome offers Grok Bot, Hermes Agent and OpenClaw, each installed only if you pick it. Grok Bot's download requires administrator approval and adds its vendor update source; Hermes and OpenClaw install into your home without root. shadowfetch-agent-network offline pauses all three.
- NVIDIA
- Intel and AMD use Mesa. NVIDIA setup is an explicit, simulate-first workflow that refuses removals and can create Phoenix Points on Btrfs. VM rendering does not prove physical GPU performance, so check the hardware notes before depending on accelerated workloads.
- Multi-GPU laptops
- After installing and verifying an NVIDIA driver, test the laptop's offload behavior. For a working PRIME setup, run apps with __NV_PRIME_RENDER_OFFLOAD=1 __GLX_VENDOR_LIBRARY_NAME=nvidia <app> to use the discrete GPU.
- Updates
- Run sudo apt update && sudo apt upgrade, or use Discover (KDE’s app/update store). Shadowfetch updates flow from https://www.shadowfetch.com/linux/apt/; Debian updates flow from the usual mirrors.
- Flathub
- Pre-configured. Open Discover, search, install — works.
Add the Shadowfetch APT repo to an existing Debian system
If you already run Debian and just want the Shadowfetch metapackages without reinstalling, you can pull them via apt:
curl -fsSL https://www.shadowfetch.com/linux/apt/shadowfetch.gpg.asc \
  | sudo gpg --dearmor -o /etc/apt/keyrings/shadowfetch.gpg

echo "deb [signed-by=/etc/apt/keyrings/shadowfetch.gpg] https://www.shadowfetch.com/linux/apt/ umbra main" \
  | sudo tee /etc/apt/sources.list.d/shadowfetch.list

sudo apt update
sudo apt install shadowfetch-desktop      # full creative workstation
# or pick à la carte:
sudo apt install shadowfetch-themes shadowfetch-defaults
sudo apt install shadowfetch-creative-base
Hardware notes →Download shadowfetch-5.0.0-amd64.iso
Debian is a registered trademark of Software in the Public Interest, Inc. Shadowfetch Linux is an independent derivative and is not affiliated with or endorsed by the Debian project.